Yin Bakes

I bake. I snap. I eat. I write.

Pineapple Tarts (Again!)

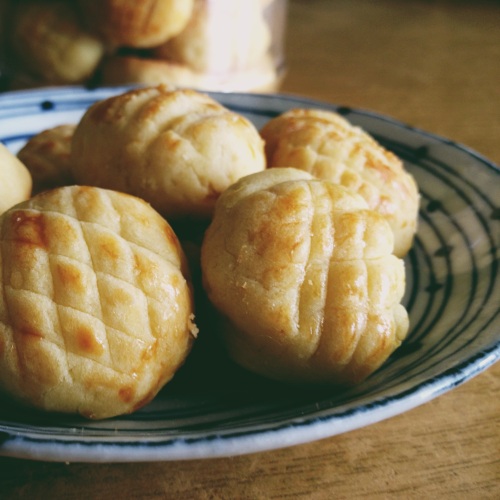
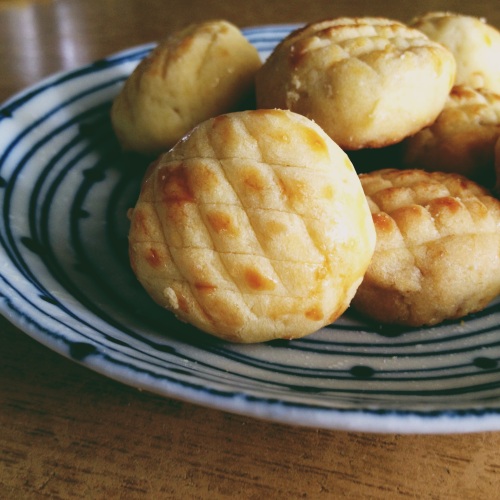
I had to make some pineapple tarts again. I just had to, since pineapples are cheap and plenty now (yay!) and there are no more pineapple tarts left to snack on in the house (boo!). So here I am, baking more tarts in the kitchen. This time, I decided to ditch the pineapple roll pastry press for my bare hands and shaping them into little balls instead for these babies.

Pineapple Tarts

My pineapples were overripe because I left them on the kitchen counter for too long. I didn’t add any sugar into my pineapple paste because it was so sweet on its own. Such a healthy fix, don’t you think? Hah! Who am I kidding? These babies were never meant to be healthy snacks.

Pineapple Tarts

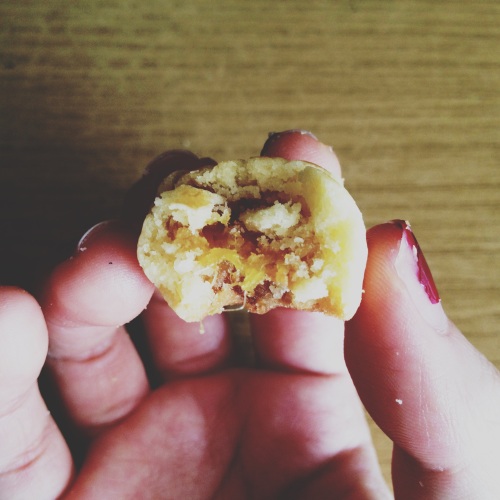
I’ve never made the enclosed version of pineapple tarts, so here goes my maiden attempt at it. This recipe contains cream cheese and cream. Weird ingredients for pastry dough, I know. But trust me, they turned out so perfect I could almost cry! The pastry is not very fragile like the ones made of cornstarch, but they melt in your mouth oh-so well. They’re so creamy, highly fragrant and tasty… oh yum! I’m in love with them. I never really like enclosed tarts but these are really good. Even my family of picky eaters couldn’t agree more. This recipe’s a keeper for sure!

Pineapple Tarts (adapted from Table For 2… Or More)

Ingredients:

  • 250 grams unsalted butter
  • 170 grams cream (I used whipping cream)
  • 75 grams castor sugar
  • 400 grams cake flour
  • 30 grams cornstarch
  • 50 grams cream cheese
  • 3 egg yolks
  • 1 egg yolk for egg wash
  • Pineapple jam (see here)

Method:

1. Preheat the oven to 170°C and line a baking tray with grease-proof paper. Meanwhile, sift cake flour and cornstarch.

2. Using a cake mixer, cream the butter, cream cheese and sugar. When it comes together, pour in cream and whip them up on medium speed for about 10 minutes. Scrape the sides from time to time, beating them until you get a creamy mixture (they’ll look lumpy at first but don’t worry!).

3. Add in 3 egg yolks and beat for about 1 minute.

4. Add half of the flour mixture into the cream mixture and mix them on low speed until they come together. Add in the remaining flour and continue beating until you get a smooth dough. Do not over-mix.

5. Allow the dough to rest for 10 minutes so that it is more manageable when shaping. Chilling it in the refrigerator helps too.

6. In the meantime, shape the pineapple filling into small balls and keep them chilled afterwards.

7. Divide the dough into small balls roughly twice the size of the rolled pineapple fillings.

8. Wrap the pineapple fillings into the dough balls. Clean your hands from time to time as the jam will make your hands sticky and wet, making dough-shaping difficult.

9. Place the finished tarts on the prepared baking tray and brush them with egg wash.

10. Bake them for 15 minutes. Turn the baking tray 180° and continue to bake for 2 more minutes or until they turn golden brown. Leave to cool before storing.

Pineapple Tarts

I am submitting this post to Chinese New Year Delights 2013 hosted by Sonia aka Nasi Lemak Lover. This post is also linked to the event, Little Thumbs Up organised by Doreen from My Little Favourite DIY and Bake For Happy Kids. The theme of this month is ‘Pineapple’! Join in the fun if you bake or cook anything with pineapple this month!

Banana Chiffon Cake

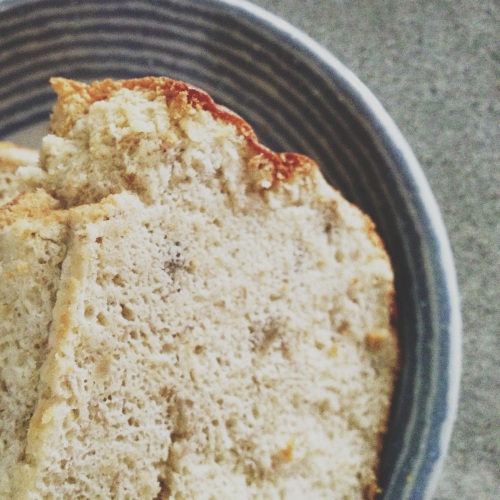
Chiffon cakes are foolproof cakes. At least they are for me. I can simply whip them up and they always turn out perfectly. You can make chiffon cakes work for you too, if you know how to beat your egg whites right. I used to have problems with beating egg whites till stiff peaks, that is I would over-beat them till they dry out, or that they don’t reach the stiff peak stage at all. That’s a bummer, but with a lot of practice (and many failed recipes and deflated cakes later), I have finally mastered how to whip my egg whites right.

I love bananas. So much that I had to have them everyday. You would probably have notice that by now, since my blog header is of a bunch of bananas (hah!). In my family, we rarely have any leftover bananas – they will be all gone within a day or two if we bought any from the fruit stall. What we would do is to buy extra bunches of ripe bananas just for baking and leave them to ripe further on the kitchen table. Bananas go well with anything, and they are especially tasty in cakes. No one in the right mind could resist a good banana cake. Oh, and the aroma of freshly baked banana cake wafting from the oven… YUM!

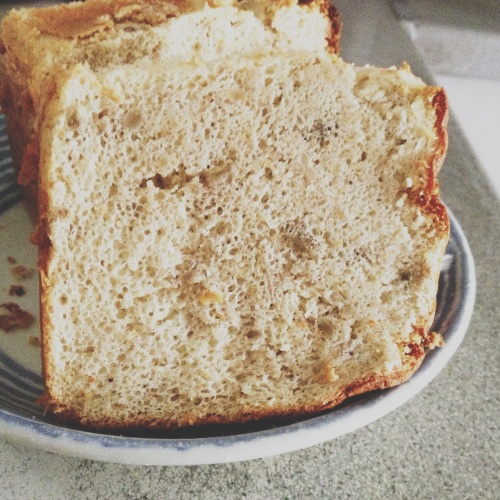
A chiffon cake made with overripe bananas is even better than your regular banana bread. Banana breads are dense, moist and a bit too heavy to digest. On the other hand, chiffon cakes are soft, airy, light and fluffy – just like cotton, you get the gist. You can have slice after slice of it and never feel too full. Perfect as a good, light snack. Or breakfast, since I prefer having a light meal to start my day off.

Banana Chiffon Cake (adapted from Christine)

Preparations:

  1. Prepare an 8 inch (20 cm) chiffon tube pan. DO NOT grease or oil the mould. You want the cake to stick to the mould so it will not fall out when you invert the mould to cool.
  2. Preheat your oven to 165°C.

Ingredients:

  • 80 grams cake flour
  • 3 egg yolks
  • 14 grams castor sugar
  • 35 grams vegetable oil
  • 45 grams milk
  • 1/8 teaspoon salt
  • 2 ripe bananas, about 240 grams
  • 4 egg whites
  • 40 grams castor sugar
  • 1/2 teaspoon cream of tartar

Method:

1. Use a blender or a food processor to process the bananas into a purée. Set the banana purée aside.

2. Mix the egg yolks with 14 grams of sugar until smooth. Add oil, milk and mashed bananas. Combine them very well. Sift in cake flour, incorporate all ingredients well until you get a smooth batter.

3. Use an electric mixer to beat egg whites first for a while until bubbles form. Add cream of tartar. Add one-third of the 40 grams of sugar at a time. Beat well between the adds, until stiff peaks form. You will know when your egg whites are well beaten if you can invert the bowl and the egg whites will not fall out. Also, the meringue should look glossy.

4. Fold in the egg whites gently into the batter. Add one-third of egg whites at a time in order to easily incorporate the egg whites.

5. Transfer the batter into the cake pan. Pop it into the preheated oven and bake for 55 to 60 minutes. Test it by an inserted skewer coming out clean.

6. Remove from oven and immediately invert the cake mould on a wire rack to cool and prevent it from sinking. Let it cool completely. Carefully remove from the cake mould. Enjoy!

Happy Chinese New Year!

There will be no baking of any sort by me during the holiday season, so here’s a picture of a Chinese temple that my family and I visit every year to fill the void space between recipe posts (I just want to keep the blog alive). I’ll be praying for luck, joy, health and prosperity for the family, if you are wondering. Also, to pray that I could get a job offer soon to keep me busy while I await my PRP posting. Have a great new year celebration everyone!